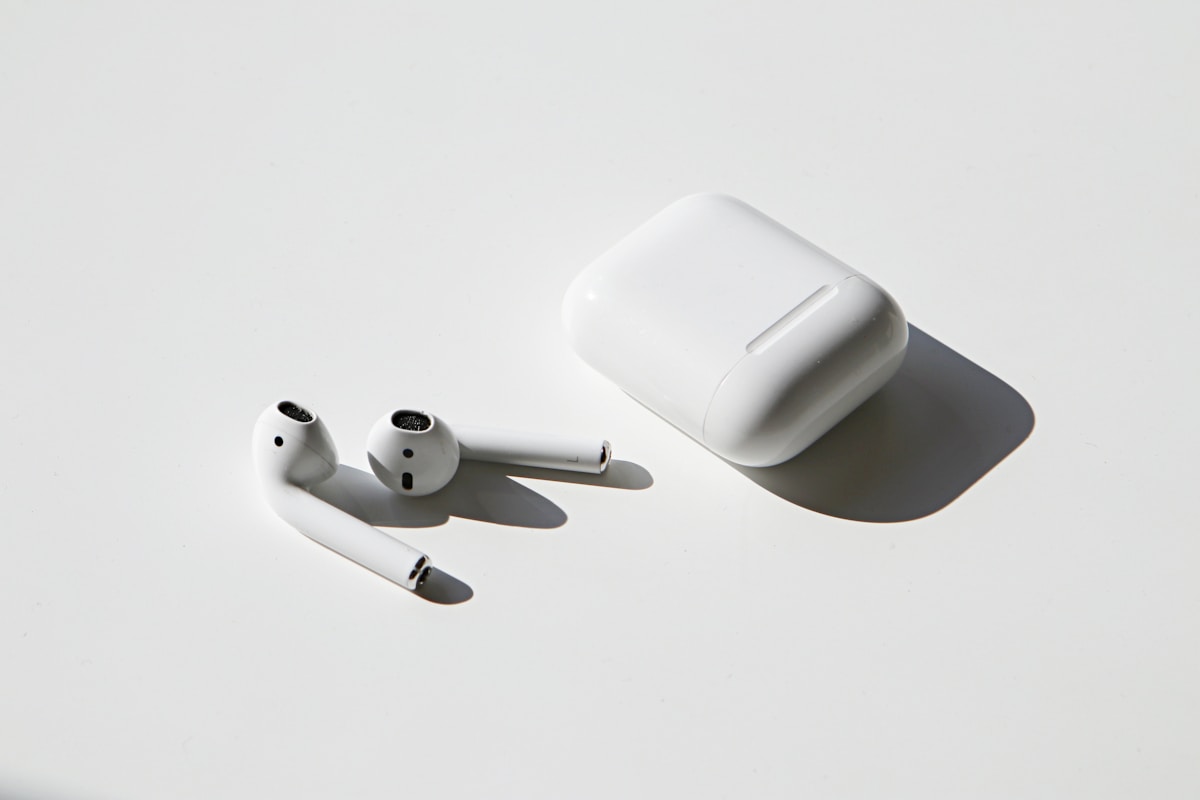
AirPods Pro Not Charging in Case? 10 Easy Fixes
Quick Fix
Clean the charging contacts on both your AirPods Pro and inside the case using a dry cotton swab or soft brush. Debris on the contacts is the most common reason AirPods won’t charge. Also try resetting by holding the setup button on the case for 15 seconds until the light flashes amber then white.
Understanding Why AirPods Pro Won’t Charge
When your AirPods Pro refuse to charge in their case, it’s frustrating but usually fixable. The charging mechanism relies on precise metal contacts between the earbuds and the case, making them susceptible to dirt, earwax, and debris buildup.
Software glitches in the AirPods firmware can also prevent proper charging communication between the earbuds and case. Sometimes one AirPod charges while the other doesn’t, indicating a contact or positioning issue with that specific earbud.
The charging case itself can develop problems, from a depleted internal battery to damaged charging coils for wireless charging. Understanding these potential causes helps you systematically work through solutions.
Method 1: Clean the Charging Contacts
- Remove both AirPods Pro from the case
- Look at the metal contacts at the bottom of each AirPod stem
- Use a dry, soft-bristled brush or cotton swab to clean these contacts
- Inspect the charging wells inside the case
- Clean the metal contacts at the bottom of each well
- Use a dry toothpick to gently remove any debris in crevices
- Blow gently into the case to remove loose particles
- Place AirPods back and check if they charge
Method 2: Reset Your AirPods Pro
- Place both AirPods in the charging case and close the lid
- Wait 30 seconds
- Open the lid of the case
- On your iPhone, go to Settings > Bluetooth
- Tap the i next to your AirPods Pro
- Select Forget This Device and confirm
- With the lid open, press and hold the setup button on the back of the case
- Hold for 15 seconds until the light flashes amber, then white
- Re-pair your AirPods with your device
Method 3: Check the Charging Case Battery
- Connect your AirPods case to a charger (Lightning cable or wireless)
- Look for the LED indicator on the front of the case
- If it shows amber, the case is charging
- If no light appears, try a different cable or charger
- Let the case charge for at least 30 minutes
- Open the lid near your iPhone to see battery status
- The case needs charge to transfer power to AirPods
Method 4: Ensure Proper AirPod Positioning
- Remove both AirPods from the case
- Look at the shape of each charging well
- Note that left and right AirPods have specific positions
- Place each AirPod with the stem pointing down
- Gently press down until you feel them click into place
- The magnets should hold them securely
- Close and reopen the lid to trigger the charging indicator
Method 5: Update AirPods Firmware
- Connect your AirPods to your iPhone
- Place them in the case with the lid open
- Keep your iPhone nearby and connected to WiFi
- Plug the case into a charger
- Leave everything connected for at least 30 minutes
- Firmware updates install automatically
- Check version in Settings > Bluetooth > AirPods > tap i
Method 6: Try a Different Charging Method
- If using wireless charging, try a Lightning cable instead
- If using Lightning, try a different certified Apple cable
- Test with a different power adapter (5W or higher)
- Try plugging directly into a Mac or PC USB port
- For wireless charging, ensure proper alignment on the charger
- Remove any case or cover from the AirPods case
Method 7: Clean the Lightning Port
- Inspect the Lightning port on the bottom of the case
- Look for lint, dust, or debris
- Use a wooden or plastic toothpick to gently remove debris
- Avoid metal objects that could damage the port
- Use compressed air to blow out loose particles
- Try charging again with a Lightning cable
Method 8: Check for Physical Damage
- Inspect both AirPods for visible damage
- Check the charging contacts for corrosion or discoloration
- Look at the case hinge for cracks or damage
- Examine the case contacts for bent or broken pins
- Check if the case lid closes properly and magnets engage
- Water damage indicators (if visible) will show red if exposed to moisture
Preventing Future Charging Problems
- Clean your AirPods and case weekly with a soft, dry cloth
- Store the case in a clean, dry environment
- Avoid exposing AirPods to excessive moisture or sweat
- Use only Apple-certified charging cables and accessories
- Don’t leave AirPods in extremely hot or cold conditions
FAQ
Why does only one AirPod charge?
This usually indicates dirty contacts on that specific AirPod or its charging well. Clean both thoroughly. If one AirPod consistently fails to charge after cleaning, it may have a hardware defect requiring replacement.
How do I know if my AirPods are charging?
Open the case lid near your iPhone – a popup shows battery levels. Alternatively, check the LED on the case: amber means charging, green means fully charged. You can also ask Siri “What’s my AirPods battery?”
Can I replace just the charging case?
Yes, Apple sells replacement charging cases separately. You can also purchase MagSafe cases for AirPods Pro if you want to add wireless charging capability. Just make sure to get the correct generation case.
How long should AirPods Pro take to fully charge?
AirPods Pro charge from empty to full in about 1 hour in the case. The case itself takes about 2 hours to fully charge via Lightning cable, or slightly longer with wireless charging.
Will Apple replace my AirPods if they won’t charge?
If your AirPods are within the 1-year warranty or covered by AppleCare+, Apple will replace defective units at no charge. Out-of-warranty battery service is available for a fee.
Is it bad to leave AirPods in the case all the time?
No, AirPods are designed to stay in the case when not in use. The case manages charging intelligently to preserve battery health. Leaving them out of the case actually drains the battery faster.